“There are two types of people in this world, those who have lost data and those
who are about to lose data” - Trouble
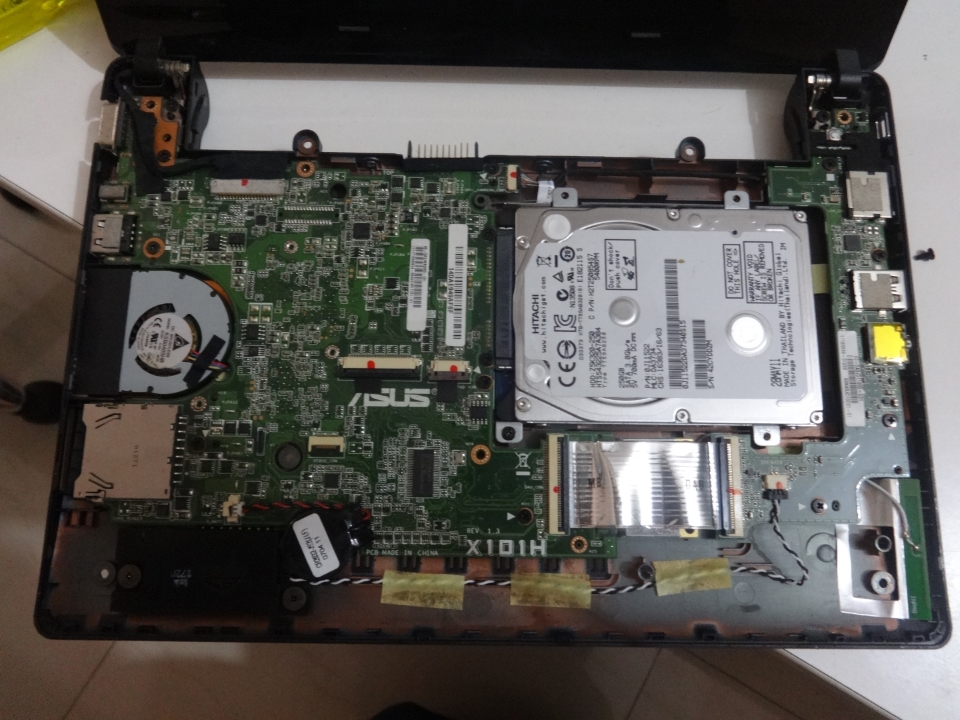
One of the places that was having a pending upgrade was the spinning rust in the
HasGeek’s UniFi controller. The ASUS Eee PC X101H[1] was running using it’s 250
GB Hitachi[2][3] Travelstar Z5K320 HDD which came in with the system and it has
been quite sometime since the purchase. Even though the S.M.A.R.T status shows
everything is green, the UniFi controller moves about a lot when being
transported between the office and the conference venue and it is only a matter
of time before someone manages to drop it and the HDD would malfunction.
After much persuasion the HasGeek people finally gave an approval for an SSD
upgrade. We purchased a Kingston A400 (240 GB) as a replacement. When buying the
new SSD we did not think about the slight size difference in the drives 250 GB
vs 240 GB and we thought this shouldn’t pose much of a problem.
No upgrade is simple
We opened up the machine and and swapped the existing HDD for the new SSD.
Connected the old HDD to the USB port via an external SATA-to-USB connector. We
booted a live copy of Ubuntu and decided to the dd(1) command to clone the
existing HDD to the SSD.
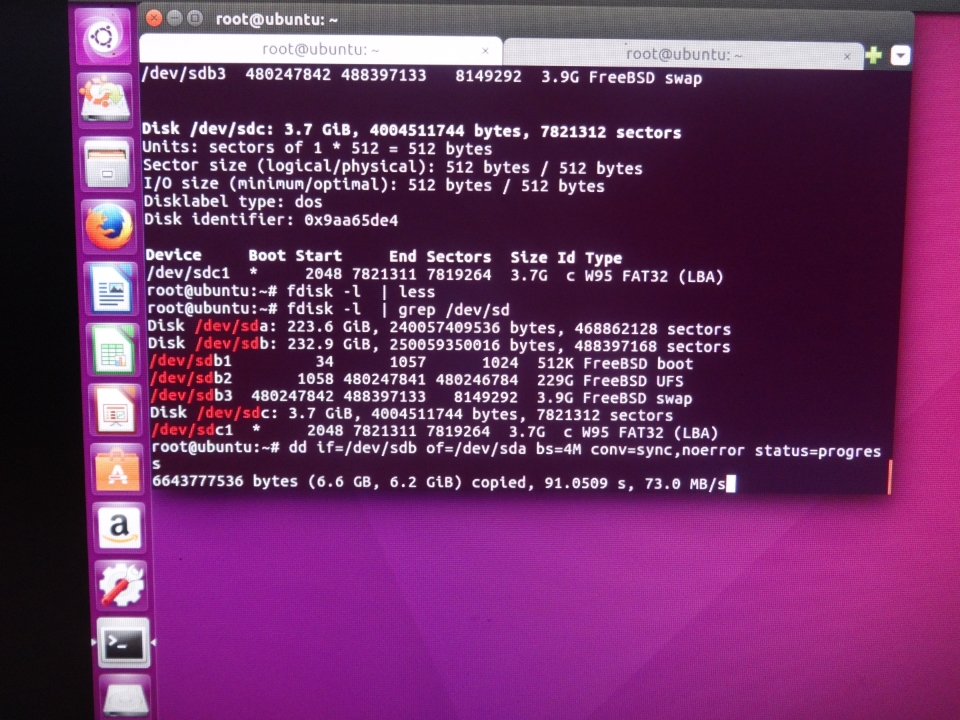
Since the end was mostly the swap parition and there was over 80% free space in
the root partition, we thought we could just re-adjust the MBR for the change in
partition sizes and deal with the changes. But it was not until the dd(1) was
complete and did a reboot I realized that, the partition scheme was GPT and not
MBR. I was familiar with editing MBRs but had no experience dealing with GPT
tables.
Since the partition layout was quite simple
- A boot partition
- The main data partition
- The swap partition
Using Ubuntu to re-partition was not an option since it does not play well with
the FreeBSD UFS file system. So we searched for a way to live boot a BSD
preferably FreeBSD based solution and we came across NomadBSD[5], we dd(1)ed an
image over to an USB drive and booted our UniFi Controller and it booted up. Now
we had access to the tools and utilities needed to do surgery on the new SSD
partition.
The idea was to re-create the partition layout, format the partition and copy
over the data. We used the FreeBSD handbook on resizing and growing
disks[5]. Since we dd(1)ed the original drive, we left the boot partition as is
and deleted the other two using the gpart(1) utility. After this we created a
couple of parititions one for the FreeBSD root and one for the swap. The size of
the FreeBSD root partition was adjusted to be smaller and the swap partition
remained the same. We formatted the new root partition using newfs(8) and
mounted it.
After this we connected the old HDD mounted the root partition and copied the
files from there via a cp -prv and hoped things would be fine. We did a reboot
after the this and the FreeBSD system booted and things seem to be fine. But to
make sure that the system was sane we ran a freebsd-update IDS and the results
were not looking good. A lot of files which were supposed to be symlinks are now
actual files and that is when I realized doing a simple cp -prv does not
preserve links. This upgrade has taken over 5 hours and I was getting tired, the
UniFi controller needed to be up and running in the next 48 hours for the big
conference and this was the last thing standing in it’s way.
Too tired to continue and badly needing a break, I decided to go back home and
see if I can figure out how to replace these files with their symlinks without
the need for re-opening and reconnecing the old disk drive.
rsync(8) to the rescue
Since we still had the old HDD with us and the new SSD in the machine, one
thought I came across was to boot into NomadBSD again and then mount the HDD via
USB and then run a find(1) to find all the symlinks in the original file system,
use rsync(8) to delete the file in SSD and copy over the symlink.
After an hour or so of looking around in man pages for both find(1) and
rsync(8), some online references I finally managed to concoct an one-liner to do
the above task.
Assuming ada1p2 is the old HDD and ada0p2 is the new SSD.
[nomad@nomadbsd /mnt/ada1p2]$ find . -type l -print0 | rsync -av --files-from=- --from0 --delete . /mnt/ada0p2`I tested it out with a couple of folders in a local machine where I recreated
the issue using the cp -prv approach and applied the one-liner and it worked out.
I gave this one-liner to my friend who was there for this grueling session of
cloning data, managed to execute it later that day and re-running
freebsd-update IDS and found that there were no more issues with symlinks.
Conclusion
Long story short, use rsync(8) if you need to copy and re-create file structures
as is, it more powerful than then traditional cp(1).
Do not end up like me wasting hours for something that could have been completed
in at most couple of hours.
Also note to myself, learn about GPT partitions.
References
- https://www.asus.com/Laptops/Eee_PC_X101H/
- https://www.hgst.com/sites/default/files/resources/TravelstarZ5K320_new_Rev00.pdf
- https://www.storagereview.com/hitachi_travelstar_z5k320_review
- https://www.kingston.com/en/ssd/consumer/sa400s37
- http://nomadbsd.org/
- https://www.freebsd.org/doc/handbook/disks-growing.html
- https://www.freebsd.org/doc/handbook/updating-upgrading-freebsdupdate.html